As I’ve previously mentioned, testing for Andi from Untangling Knots was a real pleasure. The moment I’ve laid eyes on this cardigan I fell completely in love with it. With that retro look and imagining how good it could go with my dresses there was nothing else that I needed. I was hooked and I needed to make it. Period.
I found the pattern very well written and the construction immensely clever. As I’ve said before, this is a nice project to try intarsia, since it’s used for the pocket bands. Ideal for a first try but not overwhelming. I would definitely say that if you want to try to see how intarsia feels, you should try this pattern.

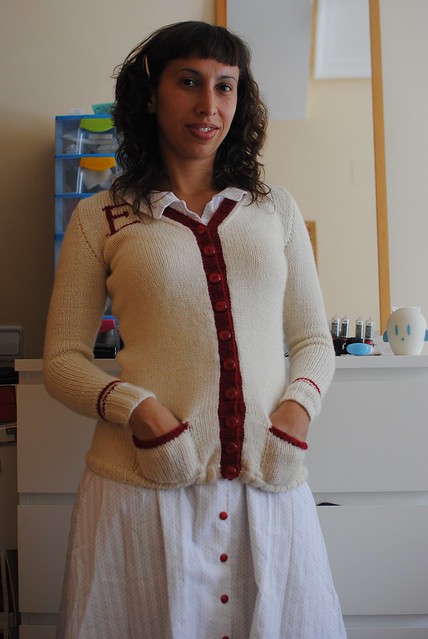
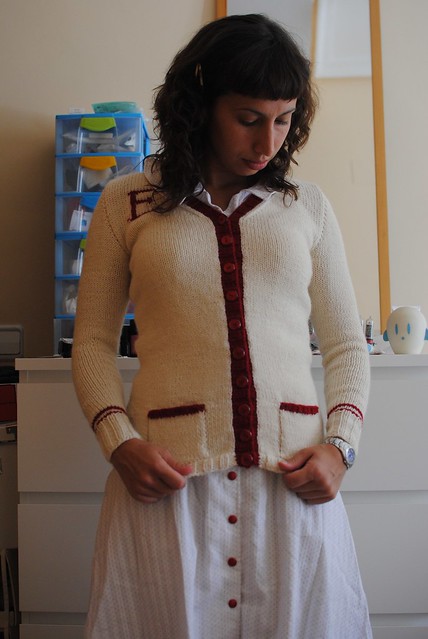
The pocket construction is different from the one I did on Émilien, but it’s also very well designed and it was one of the things that made me fall in love with this cardigan. And there’s no sewing involved! No mattress stitch, no blanket stitch, no stitch at all!

And you can stuff your hands in them, or your keys, or some coins. They are ideal and usable pockets.
I love seamless sweaters. I have to say that I don’t really enjoy sewing by hand, and joining sleeves and other parts to my knitting projects is not really my cup of tea; but sometimes it’s nice to escape from the typical raglan construction. And this is a construction that will surprise and please you. Again, it’s so clever! The final project looks like a traditional cardigan with joined sleeves, but it uses a seamless construction. I really want more of it.

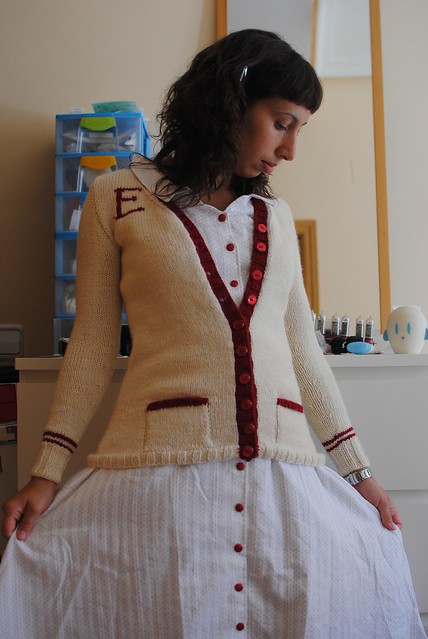
As you can see, the cardigan is fitted, enhancing the female figure. The sleeves were also a nice surprise, since most of the time I need to modify them and make them narrower than what the pattern says, but this was not the case. The sleeves were just right for my arms.
It looks nice buttoned and unbuttoned, and it feels so cozy that I want to wear it all the time (that is, if the temperature is not 40 ºC).

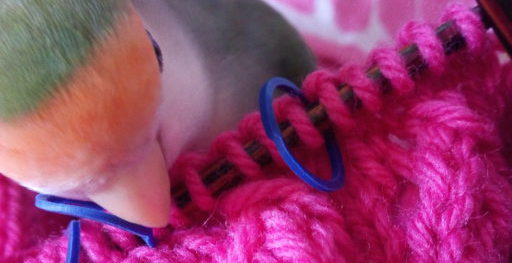
The pattern includes charts to double stitch each letter in the alphabet. A nice and unique touch to make your cardigan really custom made.

When making the arm bands I thought about using jogless stripes, but those only really work if they are wide, since at the joint the stripe is one row thinner and it would look too evident in this case. I thought about using travelling jogless stripes, but that meant my rows travelling 4 stitches and I was not convinced. I tried them anyway and decided it was not worth the hassle. Again, Andi was right.

This is by far my favorite cardigan until now. Bravo for Andi and her really clever construction.
If you want to make this beautiful cardigan you can get the pattern on Ravelry.
Here my project page in case you want to take a look.
Elena, this is so cute!!! I am going to attempt Andi’s Miette cardigan, I’m hoping I’m skilled enough with knitting to pull it off, but we’ll see 🙂
Thank you Jennifer. I’m also knitting Miette right now, and apart from the little bit of lace at the edge, I would say it’s an easy cardigan to make. It’s knitted top – down with raglan sleeves. Also no sewing involved! Just don’t forget to count at the beginning and end of each of the knit rows and you should be fine. Really looking forward to seeing your cardigan finished!
Love your style! would you be able to tell me how to adapt sleeves so they are narrower than the pattern one is knitting from? I just don’t like baggy sleeves. I don’t know how to calculate the number of stiches so that when the sleeve is set into the arm hole it fits. If you know what i mean? You look like you know how to do this?
Thank you so much, Lisa. Modifying a pattern is just doing a little bit of math. You use your stitch gauge to calculate how many stitches need at a certain point and your row gauge to increase or decrease at a certain rate. In your case you have X stitches for the upper arm and using the stitch gauge you calculate how many stitches you need for the area close to your wrist (Y). If Z stitches is 4 inches, then you have to calculate how many stitches you need to cover that part (taking into account positive/negative ease). I usually don’t decrease until I reached the elbow but that’s just a matter of preference. You measure then the distance from that point to your wrist (or where you want your cuff to start) and calculate the difference (X-Y). Then you use the row gauge to calculate how often you have to do a decrease, and you divide it by two (because you do two decreases every time).
For example: if you start with 50 stitches and you want to decrease to 30, and the length you need to cover is 30 cm. You need to decrease 20 stitches, and that is making 10 decreases. If your row gauge is for example 30 rows (10 cm), then you need 90 rows to cover that distance. So you need do decrease 10 times in 90 rows, that means 1 decrease every 9 rows.
This could be adapted if you don’t want to decrease uniformly, but in essence, this is the way to go: just measuring and pure mathematics.
I hope it was clear, just let me know if you need more help 🙂