

I’m not a shirt gal (I used to be when I was a teenager) but I wanted to try this pattern since last year just because shirt-making involves various important techniques. I tend to prefer fitted tops to avoid looking boxy above my belly button (since I’m already below it) but I took this as a technique exercise, and who knows, maybe this will get worn more than I expected, especially in the coming cold months.
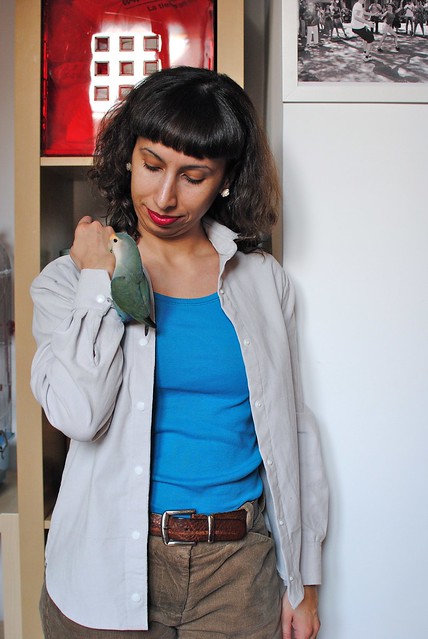
As I wanted to get acquainted to the shirt-making process, I decided to make a muslin, and I used a fabric that I bought last year by the kilo. I don’t remember the price, but it was a total bargain. When I was a teenager I had a shirt which looked exactly like this fabric, same weight and color. I used to wear oversized shirts while I was tying to find my style (and cover my bum).
For attaching the collar I used Andrea’s tutorial, and even though I haven’t tried sewing collars with a collar stand using the standard method, I have to say that this way makes sense to me and it’s not difficult to get good results. Thanks Andrea!

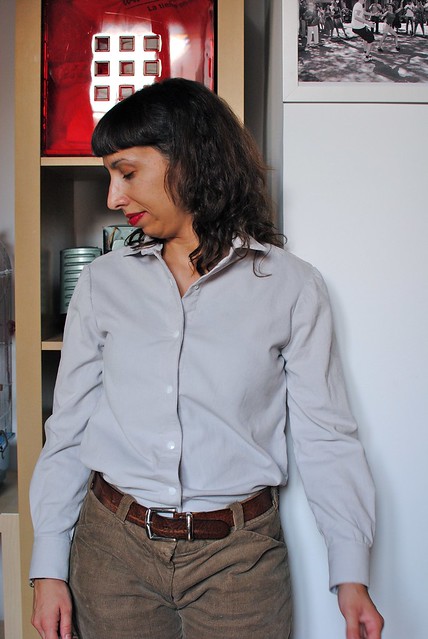
As I’m quite short (1.58m), just eyeballing, I shortened front, back and sleeves by 3 cm. After seeing the result, I think I shortened it just too much. It’s still wearable, but I notice the sleeves running short when I raise my arms.
As I try to avoid loose tops, I removed the back pleat. I am happy with this mod. The shirt is roomy enough.

I’ve read wonders about the Negroni sleeve plackets but I wanted to give a try to the ones included in this pattern. You know, just to be able to give a justified opinion. I found them a bit fiddly to sew but the result was not bad. Still, I coveted the Negroni sleeve placquets and was thinking of including them on the real shirt.
I purchased this plaid fabric last year. It’s almost impossible to find plaid flannel at our local shops so I searched online. I found some beautiful fabrics in Moods but the shipping costs were prohibitive. I finally purchased my fabric on Etsy but when it arrived it resulted in being something completely different. It’s not pure flannel but a kind of cotton quilt that feels like flannel on the right side but nothing like it on the wrong side. This put me off and I delayed this shirt until quite recently. Finding plaid flannel is as impossible as last year and after reorganizing my fabric in our new apartment, I decided this cotton quilt was not as bad as I initially thought. Ok, the inside was not going to be as cozy as I wanted, but the plaid was beautiful and I could make something nice with it. Also, I decided to park my dressmaking plans and make garments that got some wear in winter.

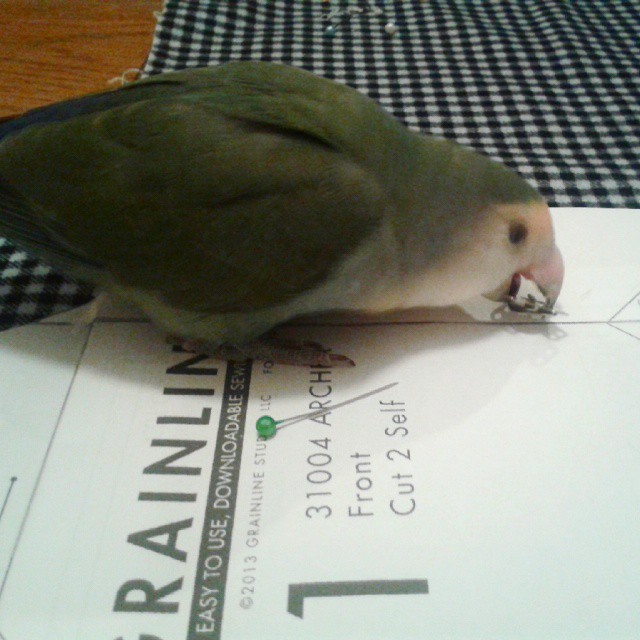
Despite Gerry’s “help” I though I hadn’t done too bad while cutting the fabric and trying to match the plaid. It was my first time doing this, but I was extra-careful. But when sewing this shirt, I discovered that not all the things matched perfectly, and even the back pattern was not completely horizontal. Horror! After the shirt was done I discovered why. Unfortunately the plaid was not perfectly on grain, so when I cut on grain, I sacrificed the design. Oh, well, worse things can happen.
A trick that I found out by myself was using my zipper foot as a guide for topstitching, and it worked like a charm.

Everything was cut on grain, except for the cuffs, the sleeve plackets, the yoke, the pocket and the undercollar, that were cut on the bias, and I just shortened the mentioned pattern pieces by 1 cm.
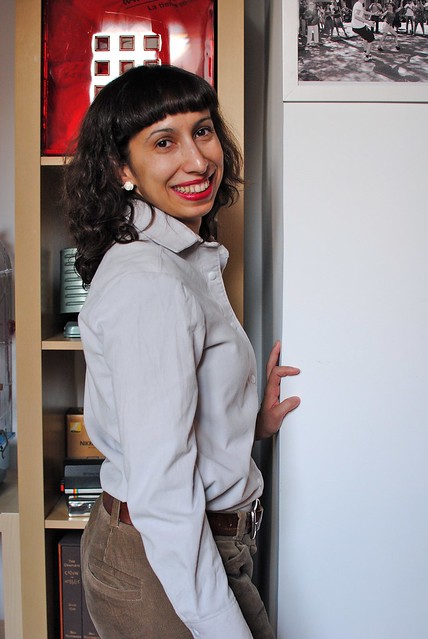
Talking about plackets, I finally used Coletterie’s plackets. I don’t own the Negroni pattern but I have the Hawthorn, and one of the versions has plackets. There’s even a tutorial about how to install them. I have to say that this totally got me converted. These plackets look more professional and neat than the original ones.

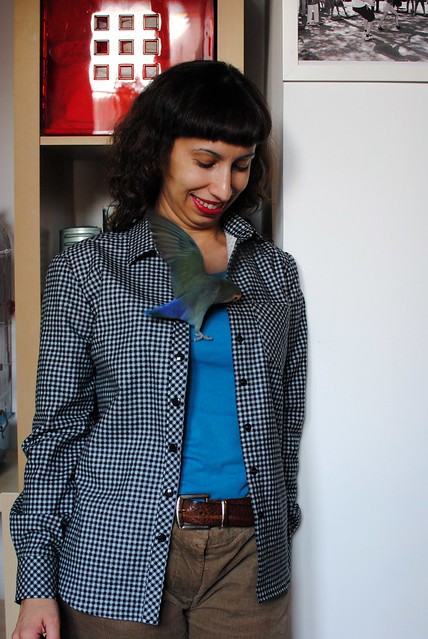
Just excuse my crazy laugh on this picture, but it was the only one where you could see the plackets. I was laughing because Gerry was in a terrible mood and was trying to bite me all the time. I had taken the morning off to go to the doctor, and that means that the “kids” were home alone. Luckily I arrived some time before noon, so I could squeeze some pictures before lunch and work. Gerry was just angry for being left alone all morning in his cage. He likes the freedom to fly all day in our living room and showing off rubbing his wings on our faces while flying like a spitfire. True story.

The pocket is not the original one but the one from Gertie’s 40s style blouse (from her last book). I really prefer the look of this pocket. The rectangular one felt a bit meh to me, I don’t know, like missing something. And I really like how this pocket looks. Perfect shape and perfect size. Another mod was placing the buttons a bit closer to each other. On the muslin I used the marks specified on the pattern, but I didn’t like the result since they felt too far apart. I like this ones a lot better.

When I see these pictures, I can’t help thinking that this shirt reminds me a bit of the one Patsy Mount is wearing in one of the last episodes of season 3 of Call the Midwife. And by the way, if you haven’t watch that series, you should give it a try. I’ve discovered reading Rochelle’s blog and it got me totally hooked. It’s one of the most beautiful series I’ve watched lately. When I finished the last episode I just wanted to start again with series one.

You can see here that the plaid looks a bit crooked where the back joins the yoke. Well, the plaid is so small that I can live with it.

I have to confess my secret of shame. I have a serious problem with buttonholes on my sewing machine. It makes one-step buttonholes, but they always come too long or too short. I think the problem comes from a not very powerful motor and the fact the buttonholes go almost on the edge of a garment, and where it is thicker, so the feed dogs have issues to grab it correctly and the motor cannot move correctly that thick fabric. Anyway, this is my theory, but I don’t know how to improve them. I also have problems sewing buttons. Well, not real problems but the ones sewn by machine come loose after some months, and I really hate sewing by hand. At the end it’s not so painful, it just takes a couple of minutes. But I hate hate it. I think it comes from the fact that when I was around 12 years old, and I was making a dress for one of my Barbies in my grandmother’s house, I suddenly ran out of thread in my needle. I was alone in the living room watching something while the others were somewhere else. As I was preparing things to thread my needle again, this fell to the carpet. One of those thick persian rugs. I went to my knees to look for it and then it happened. I felt something on my left knee and when I sat on the floor I could see the needle but on my knee. I started screaming and the family came. I stretched the leg and the needle went inside pulling my tendons with it. It was horribly painful. They tried to move me but it hurt. A lot. Finally my father used some bandages to immobilize the leg and we went to the local doctor, whose X-Ray machine turn itself down every five minutes. This was in a village and I had to be transported to the closest city, where I got surgery with local anestesia, and I could see the needle on an X-Ray monitor while my father operated on me. He didn’t work at that hospital, so I don’t know how he got permission to do it. I just know that the needle enter on point A but came out on point B. That’s why I have two scars on my left knee. A memento from my childhood. I’ve never seen that Barbie dress again, even though I remember it very well. I didn’t dare ask for it, and since that day I hate hand sewing. Even so that I also delay weaving ends on my knits.
So, all this to say that I decided to place snaps instead of buttons. The problem is that they are almost impossible to find at the local shops. The nice ones at least. You can find them in plain metal and maybe red but that’s it. These are the Kam Snaps. They are a bit pricey but they are gorgeous, and they come with pliers, cap dies in three sizes, a screwdriver to change the head, and an awl to poke holes. I’ve used snaps from the local shops here in the past, and I have installed them using a hammer. I just can say that the pliers for Kam Snaps are very effective and fast. Placing all the snaps on a shirt didn’t took longer than 15 minutes, and the existing colors are wonderful. There are several sizes of snaps. These are the T5, the most common ones. They worked perfectly except of one of them on the top of the buttonband. I guess the multiple layers of fabric were too much, and the shaft was a bit too short. I couldn’t make that snap stay there, so I’m going to tell you a secret: I glued it. I will probably never close the top snap, so I’m not really worried about it falling.

I think I like the look of this shirt and the black snaps. What do you think?

You still have time until tomorrow to enter my last giveaway. If you want to win a pattern from Ravlery, don’t let it pass!
Your shirts look amazing!! I love the gingham one with the bias on the pocket, cuffs and placket. They look perfect to me! And what a great tip to use the wide zipper foot for top stitching – I will definately be trying this.
Thank you for your encouraging words. I still have a lot to learn but i think I reached a point where I’m not afraid of trying new things, and if I’m careful enough, I can get decent results. Definitely I think I’m walking towards sewing my own style.
Your shirts are amazing! I wish one day I’ll be able to sew shirts too!
Thank you for your kind words. I really recommend this pattern, and the sewalong published by the designer helped a lot on the construction.