
I already spoke about this pattern in the past. My boyfriend is picky with his underwear, and can’t have anything strangling the family jewels. After looking here and there for a pattern that would suit him (I like the Comox Trunks from Thread Theory, but that was a no no for my boyfriend), I found this one, and I knew it was exactly what I needed. This underwear for men from Lekala was the most similar to the ones my boyfriend wears and prefers. The good news is that the pattern is very cheap ($2.69 right now) but the instructions are sparse to say the least, and it doesn’t include facings. You can very well make it without facings, but the result will be less neat. After making some here I’m going to show you my way, and I hope it can help to those of you with doubts about it.

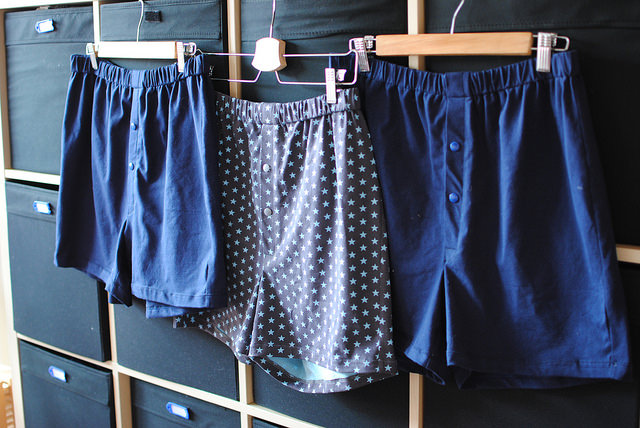
I made two last year, and after how popular they became (they are really getting worn out), I took the time to make three more this February. I wanted to share this tutorial much earlier but several commitments left me with no time to post anything decent. Now that I have finally gotten my motorcycle license (phew!) I expect to have more free time again.

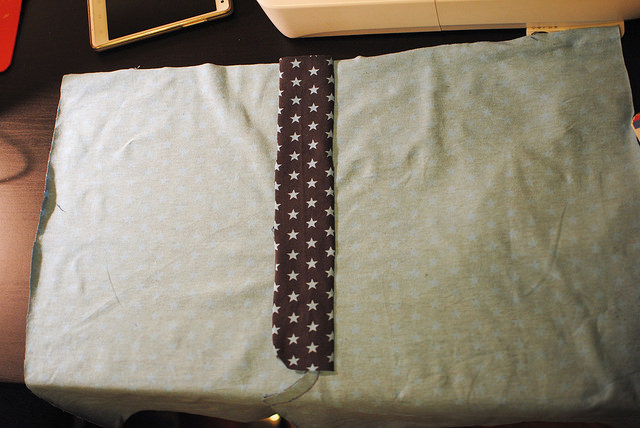
The pictures in this tutorial are from the one in the middle. The right and wrong sides of this fabric are different, so I think this will make it easy to follow.
One thing to take into account is that you can buy this pattern with and without seam allowances. You can save a bit by doing it without (as I did), but just do what is comfortable for you. Also, if you get it without seam allowances, this means you can customize them.

So you will need:
- The 4 main pieces (front and back, right and left).
- Right and left fly extension interface pieces.
- Facing to cover the right fly extension.
- Elastic.
- Markers (I use Frixion Pen, it goes away with heat).
- Pins.
- Iron.
- Sewing machine.
- Serger (optional).
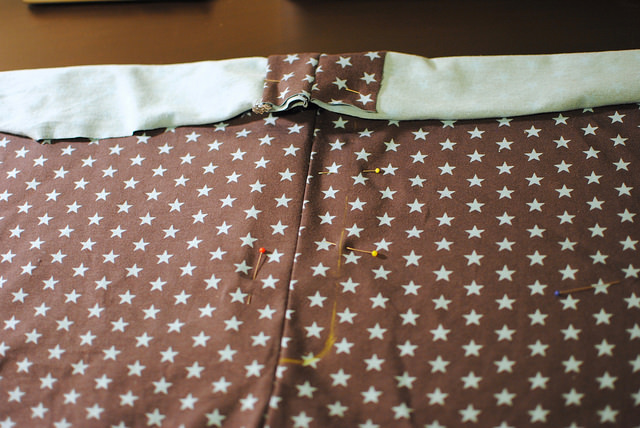
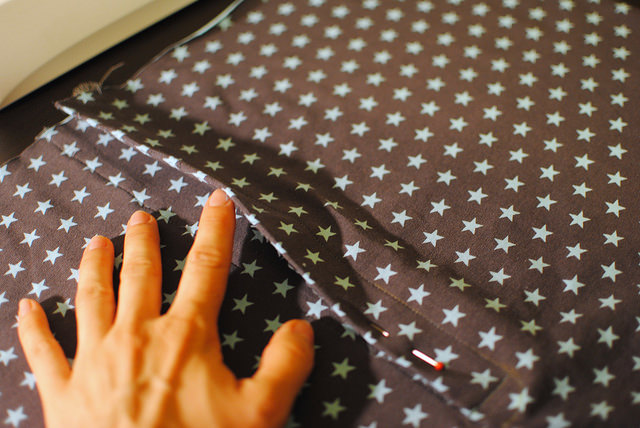
The first thing you need to do is pinning both front pieces together and draw the line where you will be sewing. Use a ruler.
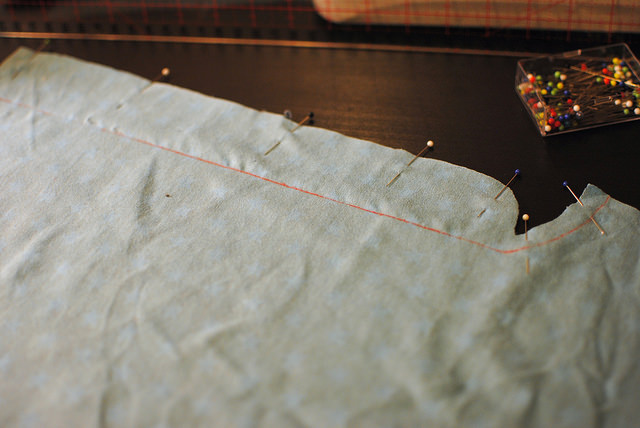
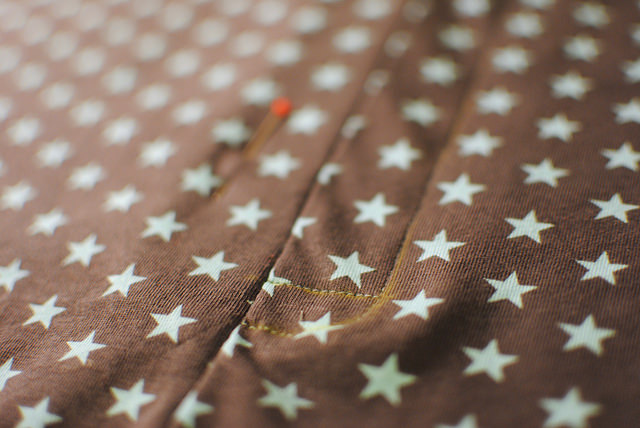
For the straight part pick the longest stitch on your machine, since this will be ripped later on. We will be basting this to make things sit right and in place to get a perfect crotch. This was what I didn’t do the first two times and what prevented those two trunks from being perfect (but still good enough to still get a lot of wear nowadays).

For the curve switch to normal stitch length (2.5) and back stitch at the beginning of it to prevent it from being undone when we reap the straight seam. And don’t bother with zigzag, since this part won’t really stretch. A regular straight stitch will do, like for the previous seam line.
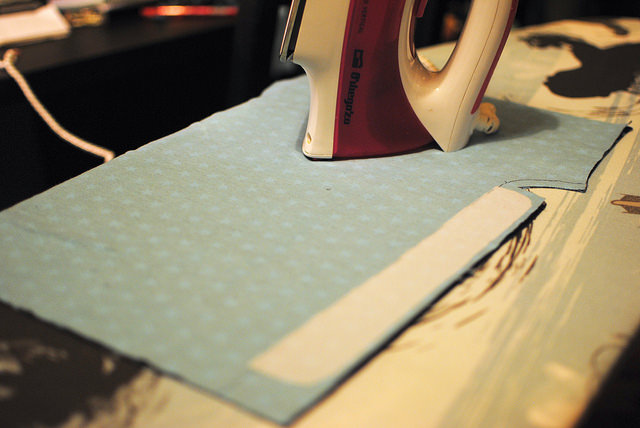
Then you will need to fuse some interfacing to the both fly extensions. I cut my interfacing pieces excluding the seam allowances to avoid having too much bulk.
Do this for both fly extensions.

And now we need the facing to cover the right side of the fly extension.
Fold and press the seam allowance.
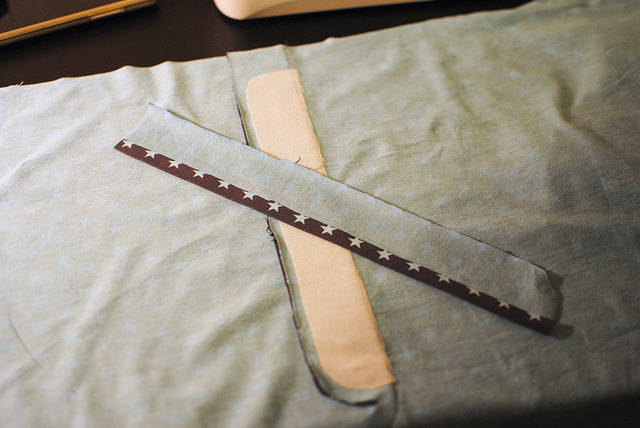

And stitch the fold in place.
Now open both fly extensions and place the facing on top of the right one, right sides together.

Snip just where the curve for the crotch seam starts.

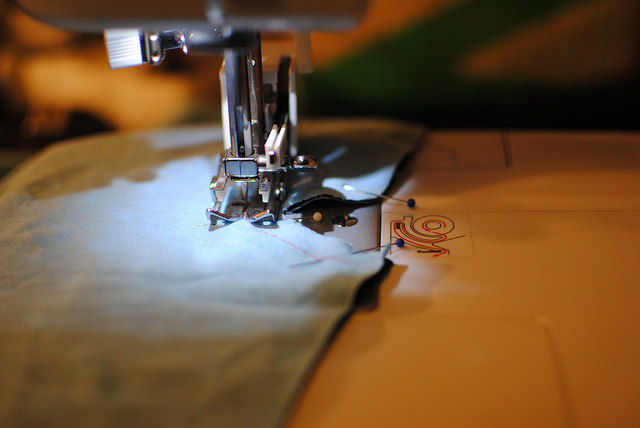
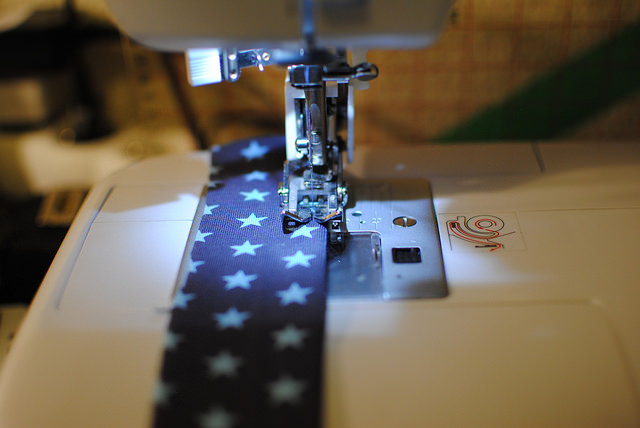
Sew the facing to the right fly extension, where the pins are placed in the picture above. I serged this part, but sewing is also fine here. You can do it with a straight stitch, since due to the interfacing, this part won’t stretch.
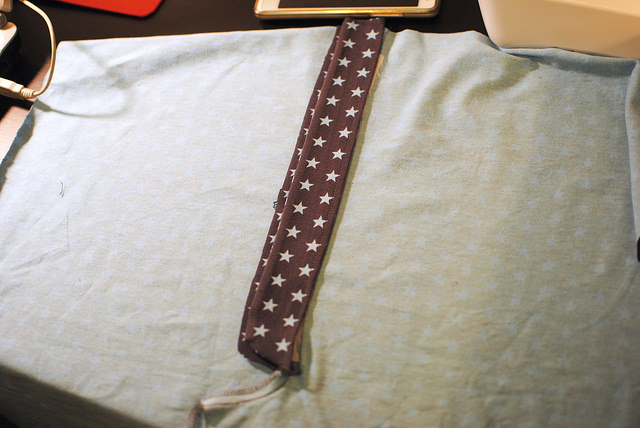
After turning it to the right side you should see something like the picture below. The right thing here would have been to serge the seam of the left fly extension. I forgot here and I did it at the end but now it would be the right time to do it. Serge also the crotch curve edge if it was not done when serging the facing and the extension together.
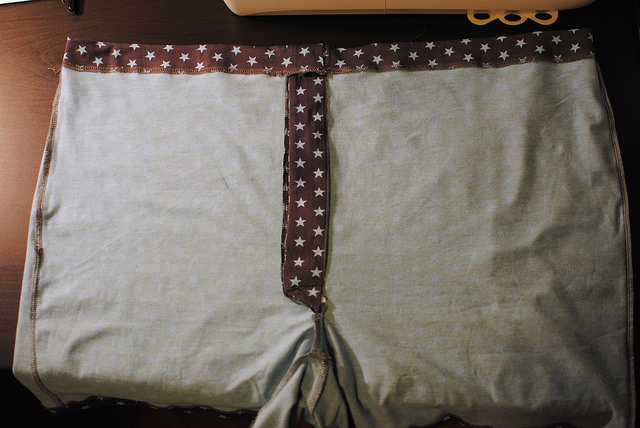
And now we need to draw the line to complete the fly.

Remember to open both fly extensions before sewing over this line, since we just want to join the left part with the left fly extension. The right fly extension should be left free here. I pined it to the side to avoid accidents.

Then sew the horizontal line at the bottom of the fly. This will secure the bottom part of the fly. You can use a straight stitch for both seams, the interfacing will prevent things from stretching out.
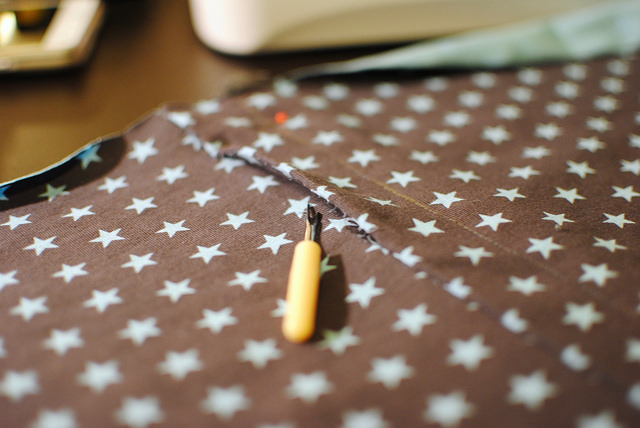
Open the basting we initially did, stopping at the horizontal line we previously sewn.
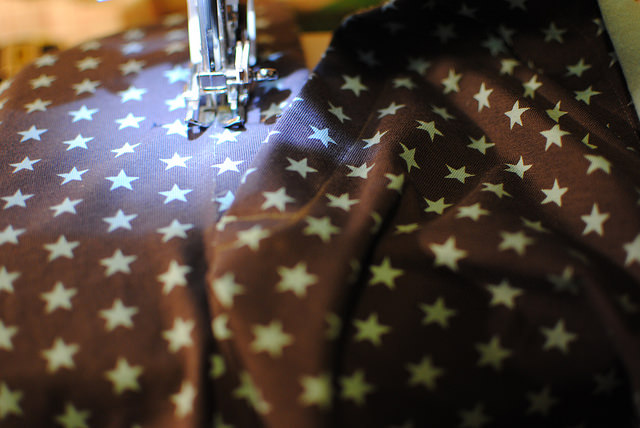
Open both sides and stitch the left fly extension to the front with a straight line, just where the fly overlaps. The trick here is leaving the little threads after reaping the seam and sewing over this line using it as a guide.

And you see that the trickiest part is already done!
This is the wrong side. My left fly extension is raw here, and I finished it afterwards, but it should be done where I specified before.

After the fly is done you can now construct the rest of the trunks. Sew (or serge) back pieces together and join them to the front pieces on the sides. After that just press the top and sew it to create the channel for the elastic. I usually leave a little gap at the center front where I feed the elastic, and then close it from the outside to make sure it’s neat. For this part I tested several things. My first times I did it with a zigzag, but I didn’t like the look of it. I tried with the bolt stitch and the triple stitch (both elastic), but these tended to stretch the fabric and were prone to accidents (having my fabric hooked in the plate hole and getting holes in it), so I finally set for a regular straight stitch, a bit longer than usual. If we think about it, the finished waist will be smaller due to the elastic, and it will never need to stretch out more than the original waist circumference. At least in my boyfriend’s case. Take this advice with a pinch of salt.
Hem both legs with a twin needle or a stretchy stitch of your preference (or use a cover stitch machine if you are so lucky ;).
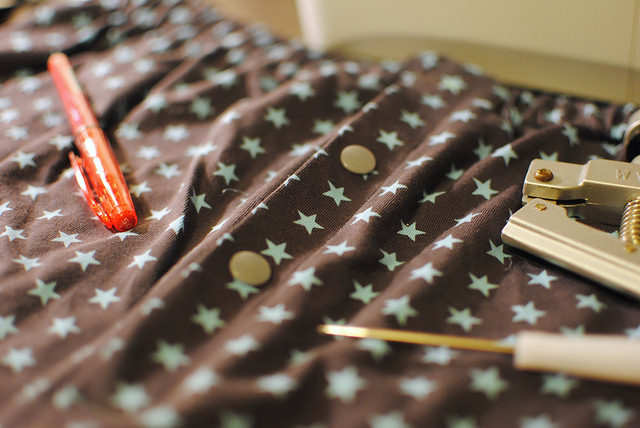
Now that the hard work is complete you just need to sew a couple of buttons or place two snaps. With my old machine I couldn’t dream of making decent enough buttonholes, so I have a good stash of snaps, and it’s what I used on these again.
And voila! Here you have, perfect trunks.
The birds also wanted to try them out.
But after a while they were more interested in my fabric stash. This drawer looks like a nice nest!
